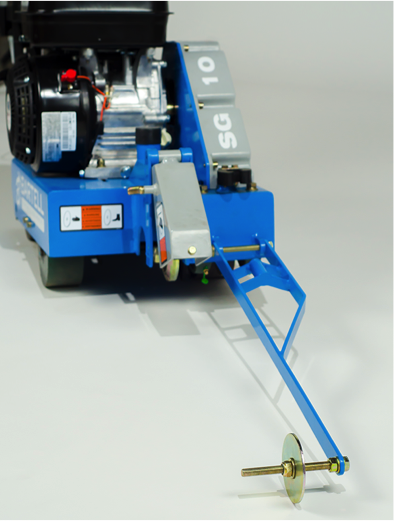
Concrete sawing is one of the things that seems easy to the unseasoned DIY’er, but there is more to this than you realize. The difference between a great cut and a bad one are easy to tell even to the untrained eye.
In this blog, we will cover 4 sawing tips that will help you make your cuts look professional and finish your job quickly. Even if you’re a seasoned cutter, there may be some nuggets in here for you as well. If you’re a more advanced cutter, you may want to check out our blog on Making Relief Cuts. It is more in-depth and may be helpful for anyone who is cutting green concrete.
There are many reasons you may need to cut concrete. Last year I was finishing my basement and we needed to expose the pipes under the slab to plumb in a drain, but we then wanted to re-pour the slab so we had no curb in the shower. We made a cut on the entrance of the shower because we wanted a clean line after we finished breaking the slab.
This is just one basic example of when you would need to cut concrete.
From my experience, these were some key tips that I found from my first time cutting concrete. Learn from my successes and failures!
CHOOSE THE RIGHT DIAMOND BLADE
 This is a big one. For anyone who is in the cutting industry, this is nothing new to you, but for people newer to cutting, understanding bonds is one of the most important aspects. All diamond blades have a “bond” that holds the diamond pieces in place. As you cut the material, the bond wears away and exposes the diamonds which actual cut the material.
If you buy a blade with the wrong bond, you will either eat through it very quickly or you will not cut effectively. Depending on the life you want to get out the blade, you may be able to get away with a multi-application style. This style of diamond blade will cut many materials pretty well, but not as good as a material specific blade.
A good rule of thumb is if you’re doing a small cut, go with a multi-application blade. It will take the confusion out of bond selection and let you get the job finished in a reasonable time. If you’re cutting lots though, make sure you get a material specific blade. It will give you much better performance as well as life.
I used one of these when I was cutting in my basement and it went well. Because the cut was only about 6ft and I didn’t need the blade for anything else, it was ideal.
BEGIN WITH A SURFACE CUT
Depending on the type of cutting you are doing, it will most likely be helpful to make a surface cut. This is when you just graze cut mark so that the blade has a guide to follow when you start going deeper. This will insure that you have a nice edge.
It is also much easier to cut straight with a surface cut because there is less grab on the blade and it is much more adjustable. Once you get the saw deep into the cut, it can be hard to change the direction without binding. (Which can be dangerous and cause kick back)
USE A DUST CONTROL SYSTEM
 Unfortunately, this is where I failed big time.
I know what you’re thinking. How could a person who works for a concrete equipment manufacturer forget this!
My excuse is that I am in Marketing. We are not the sharpest tool in the shed…
Anyway, make sure you don’t do what I did or you will be surrounded by a cloud of harmful dust very fast. You need to get a vacuum that is meant for collecting concrete dust, not just a normal jobsite vacuum. We tried that and it failed drastically.
If you don’t have access to a concrete vacuum, make sure you get a saw that has a water feed on it. This will keep the dust down, but will make a whole other mess.
Slurry…
Slurry is what is created when concrete dust and water mix together. In liquid form, this is considered a hazardous waste and needs to be disposed of correctly.
In closing, don’t be a fool like me and forget a vacuum. It is super messy and bad for your health.
I learned a lot from this not so great example of how to cut concrete. The end product turned out nice, I just had a hard time getting there. And take it from me, USE A CONCRETE VACUUM!


 By
By 