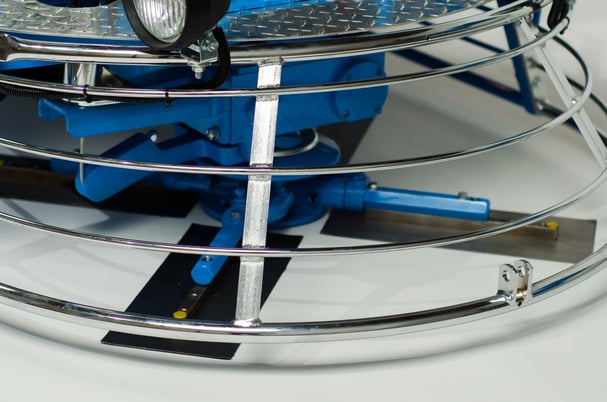
In our previous article on "The Basics of Power Troweling", we introduced the concept of preparing freshly poured concrete by floating and finishing, as well as various types of machine considerations for large and small surface areas.
In this article, we continue with introducing the processes involved in troweling concrete and highlighting some key points and tips.
WHEN TO USE A TROWEL
The ideal smooth and even surfaces on freshly poured concrete can be achieved by processing it before it dries.
For small surface areas a hand trowel can be used, but for larger areas Walk-Behind Power Trowels, or even Ride-On Trowels are a much better option, because they are much faster and more efficient.
Power Trowels are fairly easy to use, but like any piece of equipment, it takes training and a little practice to maximize their potential. If you have never used one before, then you may find the following tips particularly useful.
Timing is everything
Make sure your pour is set for a rain free day. Once poured, the concrete mixture will start to dry. It is critical to wait for the right time to start your trowel.
A useful guideline to know when you can start up your trowel, is when the operator can stand on the concrete surface, and leave footprints about 1/8”-1/4” in depth and you can walk on it firmly without the top layer sticking to your boots it is ready to power float.
Right away you will be able to tell if you are working the top 1/4" slurry, or if you're sinking in. Watch it closely and stop if you think it's too soft.
Basic movement
To move the Power Trowel, lift the handle up a little to go left, and push down to move right. The machine doesn't react immediately, so watch that it doesn't swing too far in either direction.
Float First, Finish Second
The concrete surface should be floated prior to finishing. This means a Power Trowel has to be fitted with the correct tools for floating first; there are 3 options available.
Blade options:
- Combination Blades are easy to use, since you only have to bolt on one set of blades; You leave the combination blade flat for floating, and then adjust the angle of the pitch for finishing. The front side of the combination blade is curved up and the back side is a flat edge. However, Combination Blades are more expensive than using a combination of floats and finish blades. Some people don't mind changing the blades, so it depends on your preference.
- Clip-On Float Blades work a little differently. Finish Blades stay bolted to the trowel; you simply slide the Clip-On Float Blades over the finish blades to start. Once you have effectively floated the concrete, just slide the Float Blades off, and run your Finish Blades, starting with a slight pitch. You will be able to use both sides of the Finish Blades after rotating them 180 degrees.
- Panning- Once again, keep the Finish Blades bolted to the trowel. Set the entire trowel down on to the Pan and slide the blades into the fixtures provided. The Float Pan covers a lot more surface area to help you get more done quickly. However, Panning takes more operator effort and control because of the additional surface area of the Pan.
3 More key Tips to help you achieve the perfect finish:
- Don't over work the concrete; try to make even overlapping passes.
- Run your machine at lower speed when floating and keep it moving.
- Don't sit in one spot or make abrupt changes in direction.


 By
By 
